
How to set up email on an iPhone or iPad
This is a quick step-by-step guide to setting up email on an iPhone, running iOS 11.
You will have received details from us for your email login including passwords, if not please contact us.
Please replace anything that says “yourdomain.com” or “john@yourdomain.com” in the guide below with your website name or email address. For example ours would be: chapeauchapeau.com and info@chapeauchapeaiu.com. Your website may have a different suffix for example .co.uk or .uk.

STEP 1
iPhone Settings
Firstly, you’ll need to find the ‘Settings’ icon on your iPhone home screen.

STEP 2
Choose ‘Mail’
Once you have found the settings icon, scroll down and tap on the ‘Mail’ option.

STEP 3
Choose ‘Accounts’
Scroll down and tap on the ‘Accounts’ option.
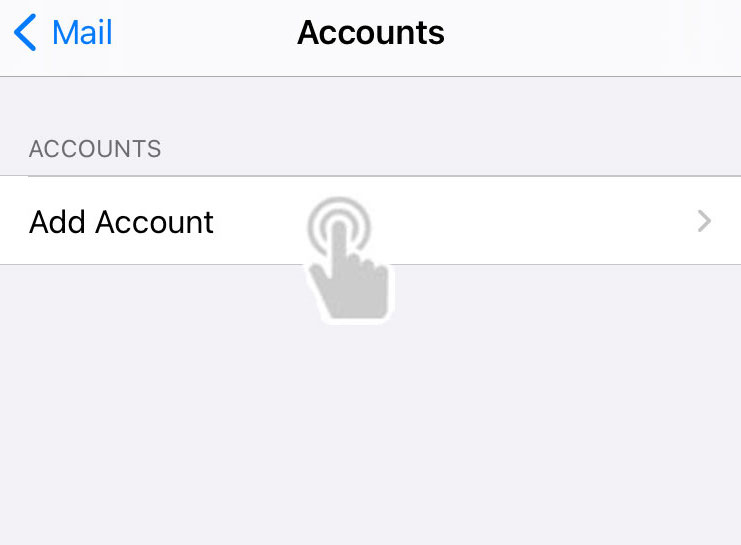
STEP 4
Choose ‘Add Account’
You will be presented with a page of email related options. Please click on the option labelled ‘Add Account’.

STEP 5
Choose ‘Other’
You will then be presented with a page of email providers. Scroll down to the bottom of this page and tap on the option labelled ‘Other’.

STEP 6
Choose ‘Add Mail Account’
From another page of options, tap on the option labelled ‘Add Mail Account’.

STEP 7
Mail Account Details
Enter your mailbox details into the fields provided, making sure that the email address and password match the mailbox details from your website and email. When you have entered the relevant details, tap ‘Next’ to proceed to the next stage.

STEP 8
Incoming/Outgoing Mail Server
Then enter your incoming and outgoing mail settings.
For incoming mail please enter the hostname as ‘mail.yourdomain.com’. Enter your email address as the username, and the email address password (as filled in on the previous screen) in the password field.
For outgoing mail please enter the hostname as ‘mail.yourdomain.com’. Enter your email address as the username, and the email address password (as filled in on the previous screen) in the password field.
When you have entered the relevant details, tap ‘Next’ to proceed to the next stage. *
* At this stage some Apple devices report “Cannot Verify Server Identity”. If this happens click “Continue” to always trust the server.

STEP 9
Turn Off Notes
On the final step, turn off ‘Notes’ but keep ‘Mail’ on. When you have made these changes, tap on ‘Save’and your mail setup is complete. Your should now be able to send and receive email via your iPhone.
How to save a copy of a sent email on the server
STEP 1
iPhone Settings
Firstly, you’ll need to find the ‘Settings’ icon on your iPhone home screen.

STEP 2
Choose ‘Accounts & Passwords’
Once you have found the settings icon, scroll down and tap on the ‘Accounts & Passwords’ option.

STEP 3
Select your email account
Then locate the email account you wish to edit, and tap on it.

STEP 4
Choose your mailbox
After choosing which email account you wish to edit, choose your mailbox. This will most likely be your email address.

STEP 5
Choose ‘Advanced’
This will bring up a list of options for this mailbox. Simply scroll to the bottom of the page and tab on the ‘Advanced’ option.

STEP 6
Choose ‘Sent Mailbox’
This will bring up a list of options for this mailbox. Simply scroll to the bottom of the page and tab on the ‘Advanced’ option.

STEP 7
Choose ‘Sent’ Folder
You will then be presented with a list of the folders on your mailbox. To save your sent mail on the server, scroll down to the section labelled ‘On the Server’ and choose the ‘Sent’ folder.
Once these steps have been completed, any mail sent in future from your iPhone will be saved in this directory. This will mean you can then access your sent mail via webmail or your preferred mail client.

FINISHED!
You’re ready to roll.
If you are still stuck please just get in touch, we are happy to talk you through set up. We know this technology jargon can be confusing.
Let’s Work Together
Got a project you want to get off the ground, but not sure how to get going? Get in touch with our multi-disciplinary team. We are here to help you creatively and enable you to realise your business potential.